Steps To Paint Kitchen Walls and Cabinets Like a Professional

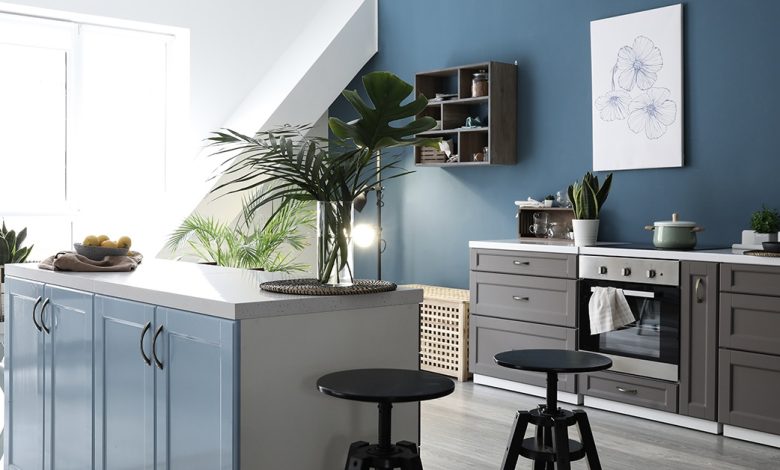
Painting your kitchen with the right kitchen colours is a great way to give it a fresh, new look. It is also an economical alternative to a full kitchen remodel. For the best results, it is important to know the right steps and tools to use to be an effective wall painter for your kitchen. Follow these tips and you can achieve professional-looking results in no time.
Preparation is Key
Before you begin painting your kitchen as the wall painter, make sure you have all of the supplies that you need on hand so that you don’t run into any snags mid-project. You will need paint, brushes, rollers and trays, painter’s tape, drop cloths for the floor, sandpaper, and primer. Start by removing all of the hardware from your cabinets and walls to get ready for the painting works.
Cleaning them with a mild detergent or degreaser will ensure that the paint sticks properly. Once everything is clean and dry, lightly sand down any rough spots on your cabinets or walls before applying primer. This will help ensure a good bond between the surface and the paint. Make sure to tape off any areas that you don’t want to be painted such as outlets or window frames first.
Taking Time with Each Step
Once the preparation as the wall painter is finished and your primer has dried, it is time to start painting! Use a brush for all of your edging work around windows and trim then move on to rolling out larger sections with a roller. Don’t rush while painting, take your time with each step so that everything looks even when it dries!
Remember to remove the painter’s tape immediately after finishing each section so that it doesn’t pull off bits of wet paint when removed later on. Allow each coat of paint plenty of time for drying between coats (at least 2 hours). You may need more than one coat depending on how thickly you applied your first coat or if there are any spots where coverage was patchy. If using multiple kitchen colours in one room be sure to use colour samples from each can before starting any large sections just in case they differ slightly from can to can!
After allowing ample time for drying overnight after painting works, touch up any imperfections with additional coats if needed then reattach all hardware once everything has had at least 24 hours to fully cure before putting it into use again! By following these steps carefully, you should get professional-looking results without having to hire an expensive contractor. Enjoy your beautiful new kitchen!
Choose the Best Kitchen Colours
Having a perfectly suited modular kitchen for your home is essential to experience a fulfilling cooking experience every time. Use the Asian Paints Beautiful Homes Service to create a specially crafted kitchen design for your home with the right colour painter which is best suited to your needs. The Asian Paints Beautiful Homes Service will help you to create the right small kitchen Asian Paints kitchen colour combination with the best-suited aesthetics along with great functionality.


