How to Prepare for Your Washer and Dryer Installation

Introduction
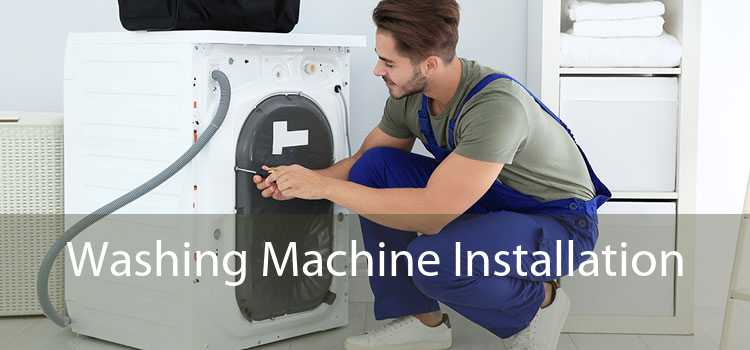
When your dryer breaks down, you’re left with washed yet wet clothes. If your dryer isn’t too old and can be repaired, then you can hire a professional to fix it by searching for “dryer repair near me”. Otherwise, you need to buy a new dryer, and preparing for installation is a nightmare. Let’s check out how you can prepare for your washer and dryer installation:
The Process
- The need for preparation – It would be nice to instantly buy a washer and dryer after seeing those shiny ads and scrolling through hundreds of models on the internet. However, there are two key things you need to address. Will the dryer and washer fit in your space, and do you have the suitable connections to hook it up? That’s why the preparation phase is necessary.
During the preparation phase, you come across numerous challenges and have to come up with a solution so that the washer and dryer can be installed without a hassle. For instance, you may have a dryer in your basement, but the new dryer may not fit through the basement doors or the stairs leading to the basement may be too narrow.
You may also need a new hose for the new washer. You may also be unfamiliar with gas and electric dryers. You may confuse them since both require an electric connection apart from the extra gas connection for the gas dryer. In the preparation phase, you get familiar with all those problems and figure out solutions so that installation can proceed smoothly.
- Measurements – There are plenty of players in the washer and dryer industry and that’s why there are no standard sizes. When you’re replacing an old washer and dryer after a few good years, the new model will always have different dimensions even if you stick to the same brand.
If you have a laundry room or a closet-style laundry room, where the dryer or washer is surrounded by shelves above and on the sides, you need to record those dimensions. You need to figure out exactly how much space you have for the new dryer and washer. After that, you’ll compare the dimensions with specifications of different models so that you can buy one that fits.
Apart from the dryer and washer you also need to account for space for gas, electric, and water connections. You also need to leave a few inches of space at the back for vents if you decide to get a gas dryer.
- Prepare the parts – Since a few years ago many manufacturers have stopped shipping installation parts with their brand-new washer and dryer. If your washer and dryer don’t have Bosch or Miele on them, you’ll need to prepare those parts. Some of the basic parts include:
- A braided stainless steel water intake hose. You can’t use your old hose if you’re covered by insurance.
- If you have a steam dryer, you’ll need a Y connector for the water connection.
- For electric dryers, you’ll need a three-prong or four-prong power cord depending on your outlet. Insurance prevents you from using an old one.
- For gas dryers, you’ll need a flex gas line and for all vented dryers you’ll need a semi-rigid vent kit.
- You’ll also need a stacking kit specifically for your washer and dryer if you decide to stack them on top of each other.
- Connections – For washers, you’ll need a standard 3-prong, 110V outlet. There are very few washers that need a different outlet. You’ll also need to check your water shut-off valve for corrosion and make sure that it has a metal connection that needs no alterations for connecting to a standard water intake. You’ll also need hot and cold-water faucets with a drain line within close reach of the washer.
For a gas dryer, you’ll need to check if the gas shut-off valve has a metal connection and works as it’s supposed to. You can find this valve coming out of the wall directly behind the old dryer. If your home gets liquid propane gas, you’ll need to buy the right conversion kit. Apart from that, you’ll also need a standard 110V, 3-prong electrical outlet, and a standard vent line within close reach of the dryer.
For electric dryers, you’ll need a 220V outlet within a couple of feet of the dryer. If your home is old, it may have 3 or 4 prong 220V outlets. However, newer homes would always have a 4-prong outlet. You’ll have to rely on this outlet since very few manufacturers like Miele make 110V electric dryers. Apart from that, you’ll also need to make sure that the vent line is close to the dryer. You don’t need to worry about vents if your electric dryer uses condensers or heat-pump technology.
- Door Swing – Both dryers and washers have doors that swing to the side while others have reversible hinges. Depending on the manufacturer the door swing finish can vary. However, for field reversal hinges your configuration may need a door swing reversal. You need to check the specifications of your new appliance and check for that. Some brands even offer this service for a small fee.
- Map the route – Finally, you need to map out the path of the washer and dryer from your entrance or the nearest entryway to your laundry room. You need to measure everything from the doors to the width of the stairways and hallways that fall into the path. Compare that to the specifications of your new dryer and washer to make sure it fits the path.
Conclusion
As you can see there are plenty of things you need to do before your washer and dryer are delivered and installed. From figuring out the connections to planning an obstruction-free path. On the other hand, if your dryer is still repairable, you should put it from going to the landfill by searching for “dryer repair near me” and hiring a pro to fix it.


